Friday, August 24, 2012

First Week

We are just finishing up our first week of school and most classes are already involved in their first art project.  I worked very hard to make my room very different this year... Moving furniture, removing furniture, and most importantly bringing more color to the room.   Here are some pictures of my work in progress...


This year I re-arranged the tables so four students can sit at each table, allowing me to remove an entire table from the room, helping to open up the space.  I also was inspired by other blogs and changed my table numbers hanging above each table to famous artist throughout history.

I found these cool adhesive color wheels on CafePress.com that I attached to the center of each table.  Each student now has a handy dandy reference to the color wheel and a color assigned to their seat.  This is another way I can direct my students efficiently throughout their art class. 

 
Inspired by a sign I re-pinned on Pinterest.com, I added Art Jobs that match up to their seating assignments.  This is a new concept for me and the students, but again I believe it will help make class run smoothly. 


Here is my new and improved Art Room Library.  I am having so much fun finding books to add to the library. Students may choose to read a book if there is anytime left in class after they have finished their art project. 
 
 
Every table has a Table Caddy that matches with their artist.  This will hopefully let me keep better track of the supplies and now the students don't need to bring anything with them to the art room!
 
 
This is the start to our hallway tree.  Students in all grade levels are creating some type of "leaf" for our growing tree!  I am looking forward to the finished product that will have over 450 "leaves" on it!

Thursday, May 10, 2012

Jellies!

After visiting the AMAZING "Jellies" exhibit of jellyfish at the Shedd Aquarium in Chicago over spring break with my children, I was inspired to have my 8th grade students create their own jelly fish out of recycled materials.  This was perfectly and spontaneously planned around earth day so I was able to incorporate the idea to re-use everyday materials to create a sculpture of an amazing sea creature. 


This is an example of a Jellyfish at the Shedd Aquarium I took with my cell phone.  They are really a beautiful and unique animal!
On the first day of this lesson, students learned about jellyfish, and their unique qualities.  We observed different types of Jellies, and discussed the variety of shapes, colors, and sizes.  I found interesting videos on National Geographic Kids and the Shedd Aquarium website. 

Students brought in their own empty 2 liter bottles for the jellyfish body.  They also used plastic bags, paper, newspaper, yarn, and fishing line to create the jellyfish tentacles.  I allowed them to be as creative as they preferred, not necessarily making a realistic jelly.  The biggest obstacle for them was learning how to paint "backwards."  We painted the inside of the bottles, so they had to start with the smallest details and end with their final coat of paint. 


Friday, April 20, 2012

April Is Autism Awareness Month!

Our school has embraced Autism Awareness this month to help our students learn more about what it means to be on the Autism Spectrum.  I was able to tie this into an art lesson and create collaborative artwork that could then be displayed in the hallways for the month of April. 

First, I asked students what they knew about being on the Autism Spectrum.  It was interesting to see what some of the misconceptions already in the young minds, especially the 1st and 2nd grade students. I was happy to help them understand a bit more what it is like to have Autism, and that the most important part is that we are all the same on the inside.  I also visually made my own "spectrum" with rainbow colors and discussed what someone might be like on different parts of the spectrum. 

After lots of discussion and questions or comments on someone they knew with Autism, I handed out a puzzle piece I drew and photocopied on white paper.  A puzzle piece is a symbol for Autism because of the complexity of the disorder and that there is still no cure.  After discussing this with the students, I let them color it any way they chose, and they could add words if they wanted to. 


Students then cut out their shapes and we glued them to a larger paper to hang in the hallways.  Below are some of the finished posters!!


You can learn more about the Autism Spectrum Disorder at http://www.autismspeaks.org/


Monday, April 16, 2012

7th Grade Silhouettes

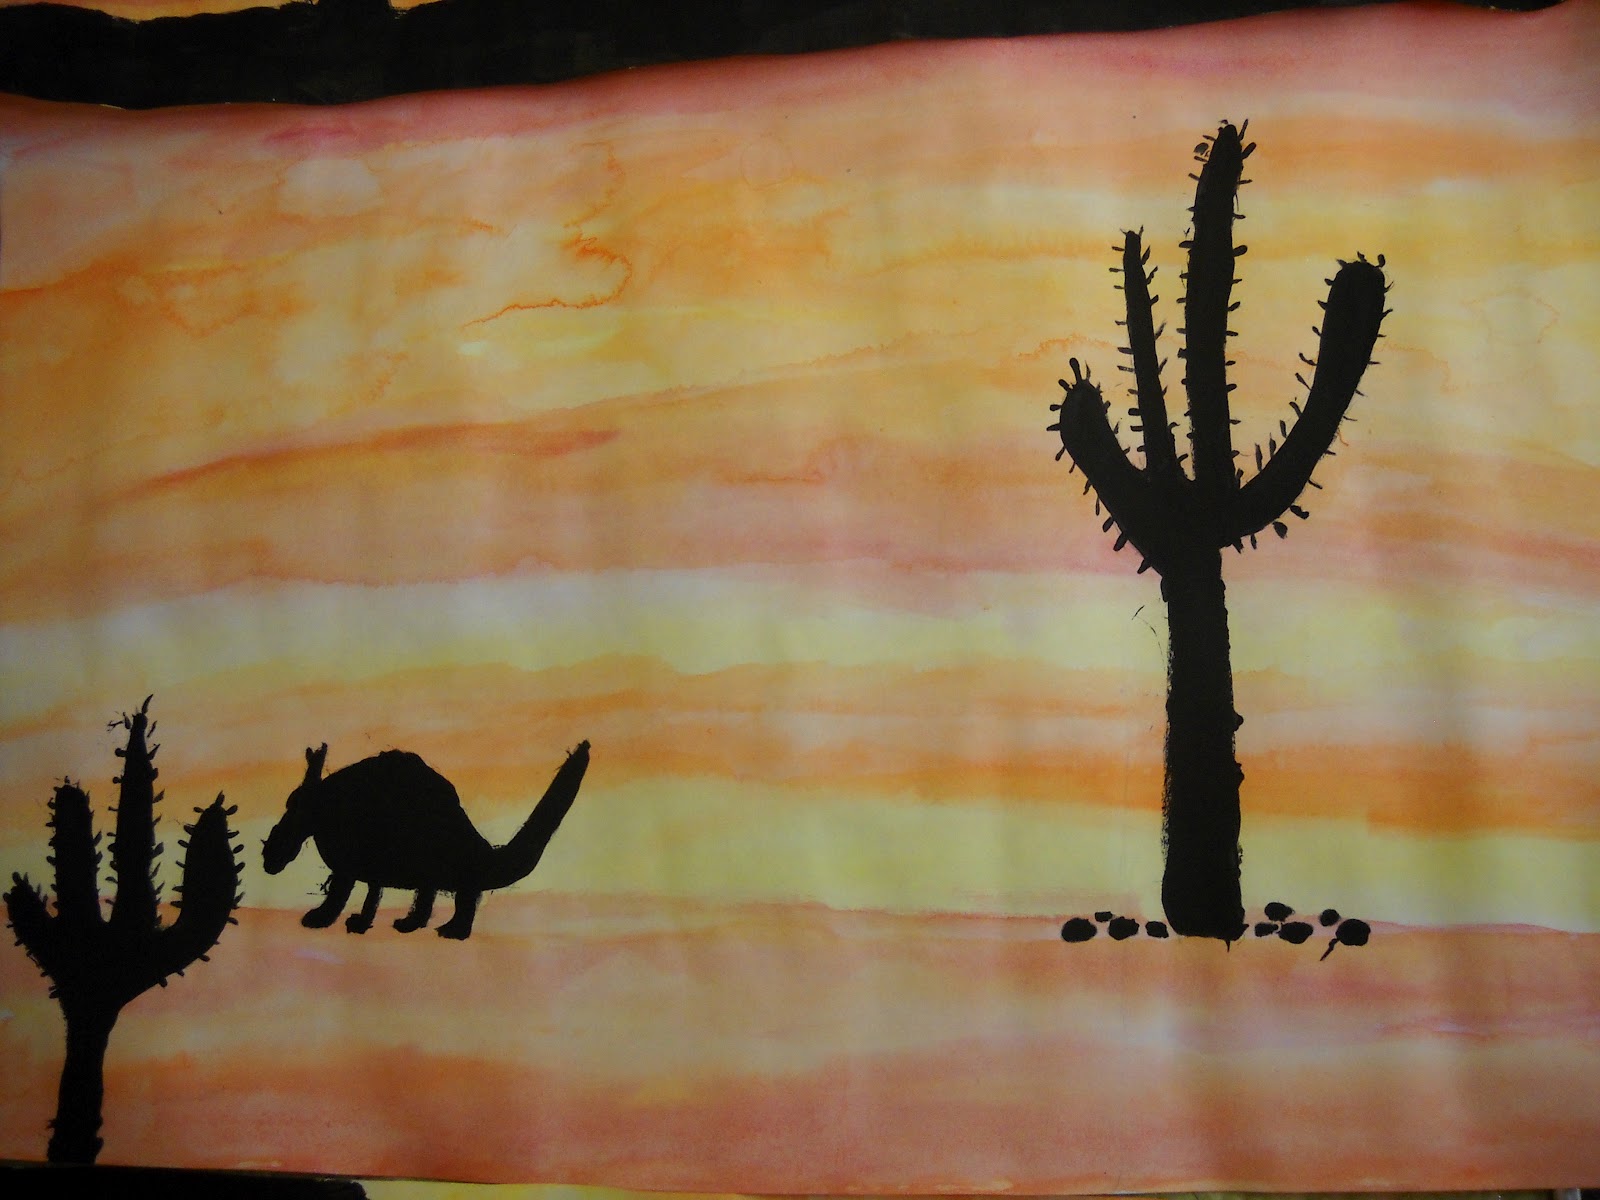
I started this lesson by showing examples of professional sunset photographs with many different objects as silhouettes.  We discussed what a silhouette is, and how it is created, when the light source is behind the object.  I also talked about how popular sunset photographs are for professional photographers to create for others to purchase. 
We then created a wet on wet watercolor sunset, using mostly warm colors found in a sunset. I demonstrated adding salt to the wet paint for an added effect. Students were then allowed to make their own silhouette, it just needed to include one plant and one animal.  Silhouettes were painted with black tempera paint, which also gave us an opportunity to discuss opaque vs. transparent paint. 


Thursday, April 5, 2012

Dolphin Paintings

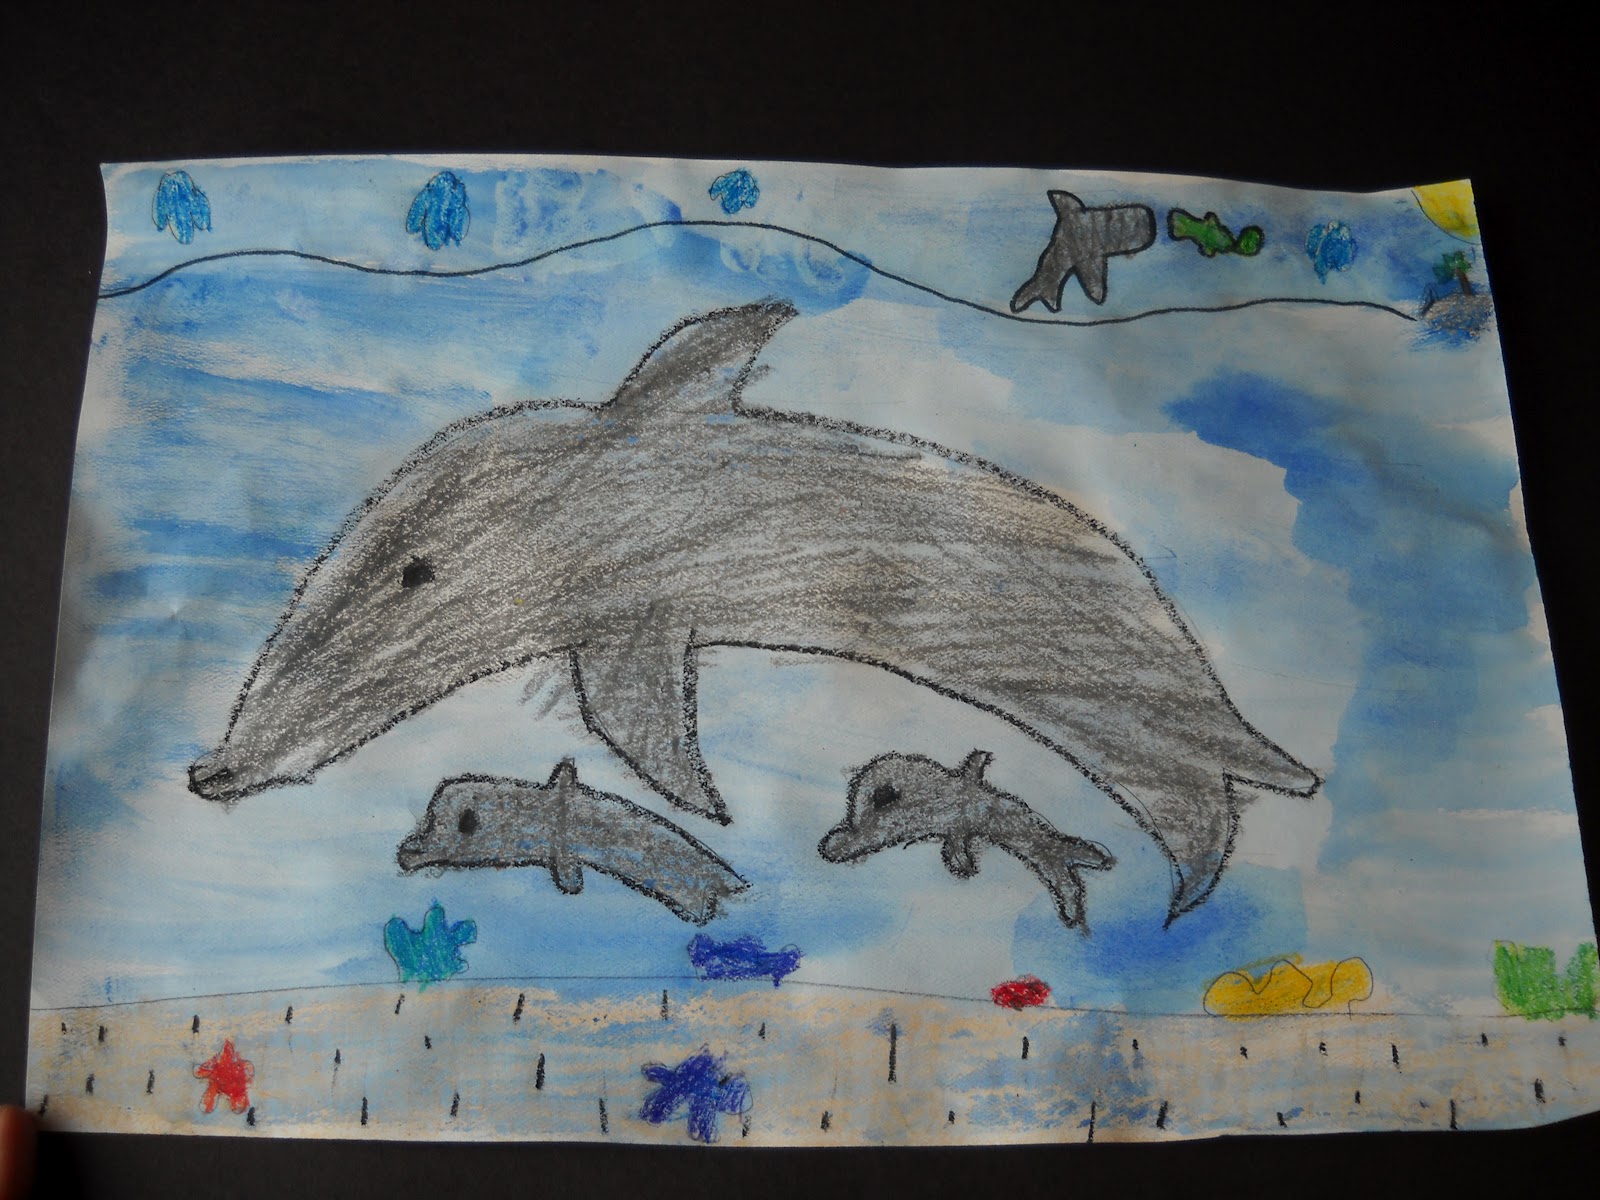
After my recent trip to the Florida Keys and a visit to the Dolphin Research Center in Marathon, Florida, I was inspired to teach my 2nd grade students about these amazing mammals.  We spent time discussing dophin facts, with videos from National Geographic Kids and some pictures I took while on my trip.  My students were very excited and many of them were able to contribute to the discussion from their own facts they had learned. 

Before the first class period was over, we went through a step by step process to draw a dolphin.  I encouraged them to practice drawing one during their free time until the next art class. 

The students created crayon drawings of the dophin and it's surroundings.  We discussed creating a scene for their dolphin.  Was it underwater, up in the air, in an aquarium, etc.  Students added realistic colors to their dolphins and other details with crayon. 


The final step was to paint the entire paper with blue watercolor paint.  The watercolor resists the oil in the crayons and leaves a very neat result.  The students and I were thrilled with how well their paintings turned out!


Tuesday, April 3, 2012

What's In Your Head?

My 4th grade students recently completed a paper collage project that answered the question: What's in your head?  We started the lesson by brainstorming what images one would find if the students could look inside their heads... We discussed colors, images, food, family, activities, and feelings. 


Students then did their best to find those images in a variety of magazines and newspapers.  I also drew each student's silhouette using an overhead projector.   Students really got a kick out of what their actual silhouette looked like once it was done. 


The finished product looked very much like each student!! This was a very enjoyable lesson that allowed us to discuss how art can be used for personal expression. 

Saturday, February 4, 2012

Keith Haring Paper Sculptures

I got the idea for this lesson for my first graders from haringkids.com to create 3Dimentional Keith Haring Figures using strips of colored construction paper... I had no idea this would be such a fabulous lesson!


First, we discussed Keith's artwork and how he conveys movement in his artwork.  I then had the students come up and re-create the dance moves seen in his work.

Students came up one at a time and their classmates had to guess which color person in the painting they were imitating.  This was a really fun way to tie dance into the lesson. 

I then had them watch an old Sesame Street clip that has Keith Haring's people become animated and dance off the screen.  The song is called "Exit" and it is a very catchy tune and fun to watch!


Then the students and I explored the different things you could do to a piece of construction paper 1" by 8"... bend it, fold it, roll it, etc.  I asked the students to show me how you could make legs out of the paper.  Then I let them get to work on their own Keith Haring 3Dimentional people! Below is a sample of what they made


By the way:  This was extremely fun for the students, and for me!!


Next class, they can contine working on their 3Dimentional People, and then they will be drawing their people in Keith Haring's style, but add a background to show us what their person is doing.  I can't wait to see what they come up with!